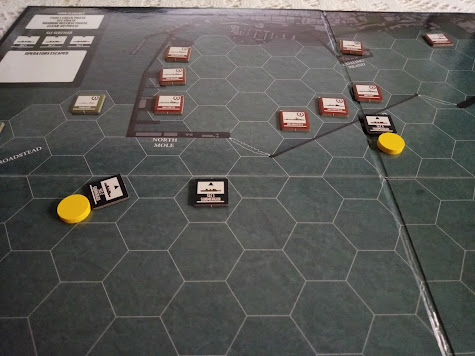
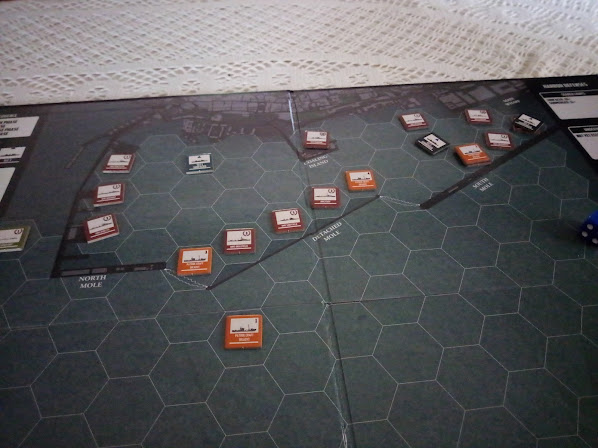
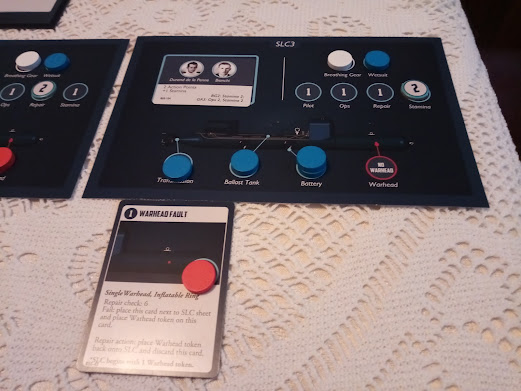
By Stealth and Sea is a solo/cooperative DVG board game that recreates the missions of Italian Human Torpedo units. I just tried the first scenario. It is a great game. Here is an after action report in narrative form to give you you a sense of the action.
It is 0030 hours on the night of October 21, 1940. The Italian submarine Scire has managed to avoid detection and has delivered its cargo of 3 SLC (Siluro a Lenta Corsa (Italian for Low Speed Torpedo) also known as Maiale (Italian for "pig", plural maiali) to their attack position off Gibraltar.
Each SLC has a crew of two men. The crews for tonight's mission are; SLC1 - Birindelli and Paccognini, SLC2 - Tesei and Pedretti , SLC3 - Durand del la Penne and Bianchi.
Each SLC has a crew of two men. The crews for tonight's mission are; SLC1 - Birindelli and Paccognini, SLC2 - Tesei and Pedretti , SLC3 - Durand del la Penne and Bianchi.
The SLC crews have checked there maiali, wetsuits and breathing gear and have begun to proceed to their targets. Despite the risk of being caught by searchlights, they have decided to travel on the surface to make better time. Searchlights sweep the surface around the harbour entrances. From this distance it is hard to make out their targets.
Due to their low silhouettes, the SLCs go undetected as the continue on the surface towards Gibraltar. All the SLC crews can just start to make out a number of ships inside the harbour. It looks like they have chosen the right night for an attack.
While SLCs 1 & 2 continue on the surface, Durand de la Penne on SLC 3 decides to submerge to avoid the searchlights playing on the surface near his SLC.
Having established where the harbour entrance is, SLC 1 & 2 also submerge and continue towards the target. They do so in a nick of time as searchlights sweep the water and just miss catching them on the surface.
After submerging, SLC 2's forward motion all but stops. Tesei notices the battery charge status is very low. Pedretti shakes the battery cable and power is restored.
SLCs 2 & 3 manage to shake off their pursuers. SLC 1 is not so fortunate. 2 patrol craft are directly overhead and have spotted them in the water.
Even though all of the SLCs are now submerged, eagled eyed searchlight operators have managed to spot SLC 2 & 3. They must be occasionally breaching the surface. They will have to go deeper to avoid further detection.
The noise of highspeed propellers is almost deafening. The SLC crews know that several patrol boats are hunting them. It couldn't happen at a worse time as the SLCs are just about to try and get through the anti-torpedo nets.
SLCs 2 & 3 manage to shake off their pursuers. SLC 1 is not so fortunate. 2 patrol craft are directly overhead and have spotted them in the water.
Things get more complicated as Tesei finds it difficult to breath. At first, he thinks it might just be the anxiety and stress of the situation, but then realizes he forgot to turn on his secondary value.
It is almost sunrise now and the defenders quickly spot SLC1 on the surface. A patrol boat races towards it. SLC2 is spotted by 2 patrol vessels in the clear waters of the harbour who quickly launch hand grenade attacks on it. Tesei and Pedretti do not stand a chance and are both killed. SLC 2 sinks to the bottom of the harbour. Meanwhile, Brindelli and Paccognini on SLC 1, who are stilled dazed and confused from their earlier patrol boat encounter, realize they have been spotted from both ships and the shore. Brindelli places an explosive charge on the SLC and he and Paccognini dive underwater to try and escape. The end up being captured as they try to swim through the anti-torpedo net.
At the other end of the harbour, scuttle their SLC and swim for shore. They discard their diving gear in shallow water and are quickly captured by the British. As they are marched off to captivity, they both curse their bad luck. So near and yet so far.
What Actually Happened
- October 21, 1940: Sciré departed La Spezia and sailed again to Gibraltar carrying three manned torpedoes and four crews. The Decima MAS frogmen entered the harbour, but were unable to attack any ships due to technical problems with the torpedoes and breathing equipment. Only one human torpedo managed to get close to a target, the battleship Barham. The charge exploded but did not cause significant damage. The two crewmen, Gino Birindelli and Damos Paccagnini, were captured by the British. The other four (including Teseo Tesei) manage to reach Spain and returned to Italy. Valuable experience was gained in this operation by the Decima. Gino Birindelli received the Medaglia d'Oro al Valor Militare (MOVM), his second, Damos Paccagnini received the Medaglia d'Argento al Valore Militare (MAVM). (Wikipedia)


No comments:
Post a Comment